WooCommerce is a powerful e-commerce platform, but sometimes you need to go beyond its default features to optimize your store for search engines.
One effective way to improve your WooCommerce SEO is by adding a second description section to your category pages, placed below the product loop.
Let’s explore why this is beneficial and how to implement it.
The Benefits of a Second Description Section
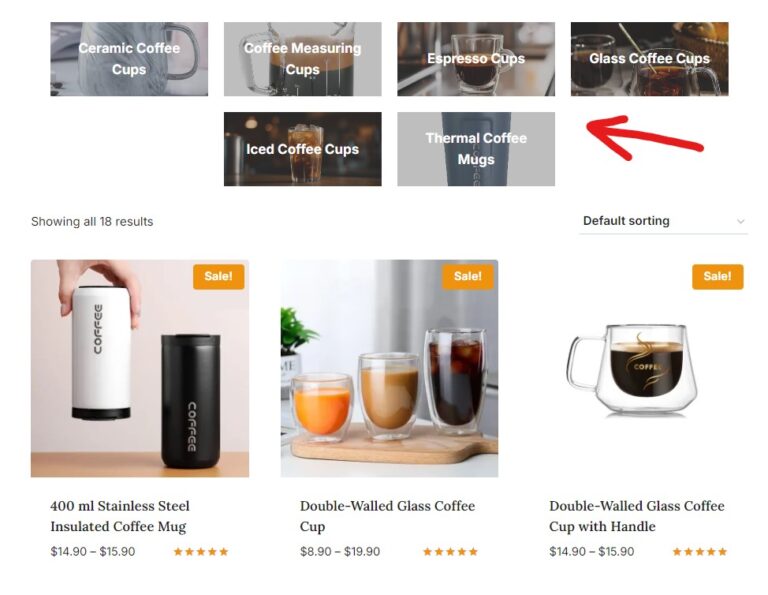
You already have a main description field on category pages, but you generally don’t want to write too much there, as you want visitors to look at your products.
But as you know, content is king when it comes to SEO, and a secondary description is a great place to add relevant, genuinely helpful content that skyrockets your category pages’ SEO scores.
- Improved keyword targeting and content relevance: An additional description allows you to include more relevant keywords and information about your category, helping search engines better understand your page content.
- Enhanced user experience and information delivery: You can provide more detailed information about the category after users have browsed the products, potentially answering questions and encouraging further exploration.
- Potential impact on search engine rankings: More relevant, high-quality content on your pages can positively influence your search engine rankings.
Method 1: Custom Code in mu-plugins.php
While there are plugins available that can add a second description section, using custom code in your mu-plugins.php file offers several advantages:
- Performance: Custom code typically has less overhead than a full plugin, potentially improving site speed.
- Reliability: Your functionality won’t break if a plugin is deactivated or becomes incompatible.
- Control: You have full control over the code and can easily modify it as needed.
This is always the road I take when setting up new Woocommerce sites.
Implementing the Second Description Section
If you haven’t yet, quickly create a must-use functions plugin for your site like this.
And here’s the code to add a second description section to your WooCommerce category pages:
/**
* Add a second description to WooCommerce category pages.
*/
// 1. Display the custom field on the "Add new product category" admin page.
add_action('product_cat_add_form_fields', 'ThemeTester_add_second_description_field', 10, 2);
function ThemeTester_add_second_description_field() {
?>
<div class="form-field">
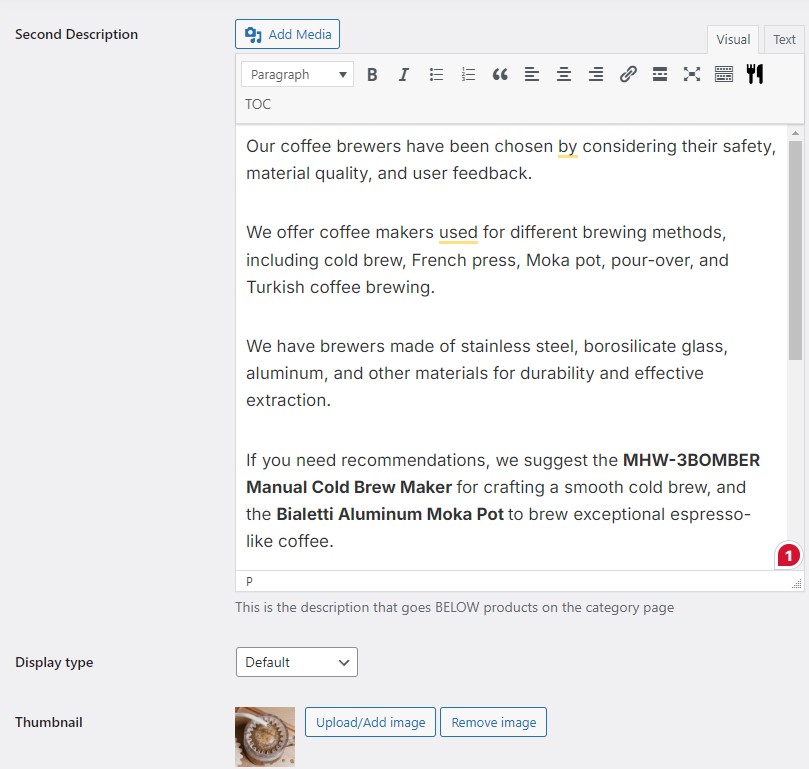
<label for="seconddesc"><?php echo __('Second Description', 'woocommerce'); ?></label>
<?php ThemeTester_wp_editor(''); ?>
<p class="description"><?php echo __('This is the description that goes BELOW products on the category page', 'woocommerce'); ?></p>
</div>
<?php
}
// 2. Display the custom field on the "Edit product category" admin page.
add_action('product_cat_edit_form_fields', 'ThemeTester_edit_second_description_field', 10, 2);
function ThemeTester_edit_second_description_field($term) {
$second_desc = htmlspecialchars_decode(get_term_meta($term->term_id, 'seconddesc', true));
?>
<tr class="form-field">
<th scope="row" valign="top"><label for="second-desc"><?php echo __('Second Description', 'woocommerce'); ?></label></th>
<td>
<?php ThemeTester_wp_editor($second_desc); ?>
<p class="description"><?php echo __('This is the description that goes BELOW products on the category page', 'woocommerce'); ?></p>
</td>
</tr>
<?php
}
// Common function for WP Editor settings.
function ThemeTester_wp_editor($content) {
$settings = array(
'textarea_name' => 'seconddesc',
'quicktags' => array('buttons' => 'em,strong,link'),
'tinymce' => array(
'theme_advanced_buttons1' => 'bold,italic,strikethrough,separator,bullist,numlist,separator,blockquote,separator,justifyleft,justifycenter,justifyright,separator,link,unlink,separator,undo,redo,separator',
'theme_advanced_buttons2' => '',
),
'editor_css' => '<style>#wp-excerpt-editor-container .wp-editor-area{height:175px; width:100%;}</style>',
);
wp_editor($content, 'seconddesc', $settings);
}
// 3. Save the custom field value from the admin page.
add_action('edit_term', 'ThemeTester_save_second_description', 10, 3);
add_action('created_term', 'ThemeTester_save_second_description', 10, 3);
function ThemeTester_save_second_description($term_id, $tt_id = '', $taxonomy = '') {
if (isset($_POST['seconddesc']) && 'product_cat' === $taxonomy) {
update_term_meta($term_id, 'seconddesc', wp_kses_post($_POST['seconddesc']));
}
}
// 4. Display the second description below products on Product Category pages.
add_action('woocommerce_after_shop_loop', 'ThemeTester_display_second_description_content', 5);
function ThemeTester_display_second_description_content() {
if (is_product_taxonomy()) {
$term = get_queried_object();
$second_desc = get_term_meta($term->term_id, 'seconddesc', true);
if ($term && !empty($second_desc)) {
echo '<div class="second-term-description">' . wc_format_content(htmlspecialchars_decode($second_desc)) . '</div>';
}
}
}Let’s break down the main sections of this code:
- Adding the custom field: The
ThemeTester_add_second_description_field()function adds a new field to the “Add new product category” page. It uses theadd_action()function to hook into WordPress. - Editing the custom field:
ThemeTester_edit_second_description_field()adds the field to the “Edit product category” page. - WordPress Editor:
ThemeTester_wp_editor()sets up the WordPress editor for the custom field, allowing rich text editing. - Saving the data:
ThemeTester_save_second_description()saves the custom field data when a category is created or updated. It usesupdate_term_meta()to store the data. - Displaying the content:
ThemeTester_display_second_description_content()displays the second description on the category page. It hooks intowoocommerce_after_shop_loopto place the content after the product loop.
By implementing this code, you’ll add a powerful new tool to your WooCommerce SEO arsenal, allowing you to provide more relevant content on your category pages and potentially improve your search engine rankings.
What to Write in Your Second Category Description?
When creating additional content for your product category page, structure it in a way that provides valuable information to your customers while also addressing potential objections.
I actually use AI for this, that does the following to write an effective second-category description:
- Analyze the Category Page: Start by thoroughly examining the category page to understand the types of products listed and their key features. This will help you tailor your content to match the needs of your customers.
- Curated Products: Begin by explaining how the products were selected for this category. Highlight the factors you considered, such as safety, materials, quality, user feedback, and testing. This helps build trust with your customers by showing that you’ve carefully curated the products.
- Product Details: Next, describe the materials, design, and construction of the listed products. This provides customers with a deeper understanding of what they’re buying.
- Customer Benefits: Explain the benefits that customers will gain from using these products. This helps them understand how the products will meet their needs.
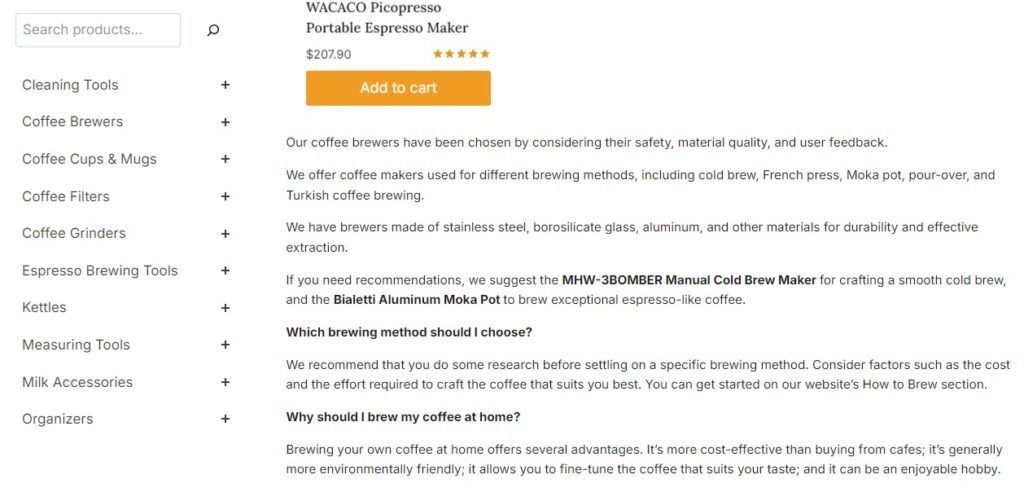
- Recommendations: Highlight two specific products from the category that you recommend, using bold text to draw attention to them.
- FAQ Section: Finally, create a short FAQ section to address common questions and objections that customers might have about the category. Use bold text for the questions and provide clear, concise answers.
By following this structure, you’ll create a second category description that not only informs but also addresses potential concerns, helping to build trust and encourage purchases.
PRO TIP
You can get my extensively tested AI prompt that does this by signing up for our newsletter below.
It is free, and you’ll also get regular emails with really cool and useful WP stuff in it. You can thank me later.
Method 2 – Use a Plugin To Add a 2nd Description Field
I don’t recommend this route, since if you ever disable the plugin, you’ll lose the descriptions you set up.
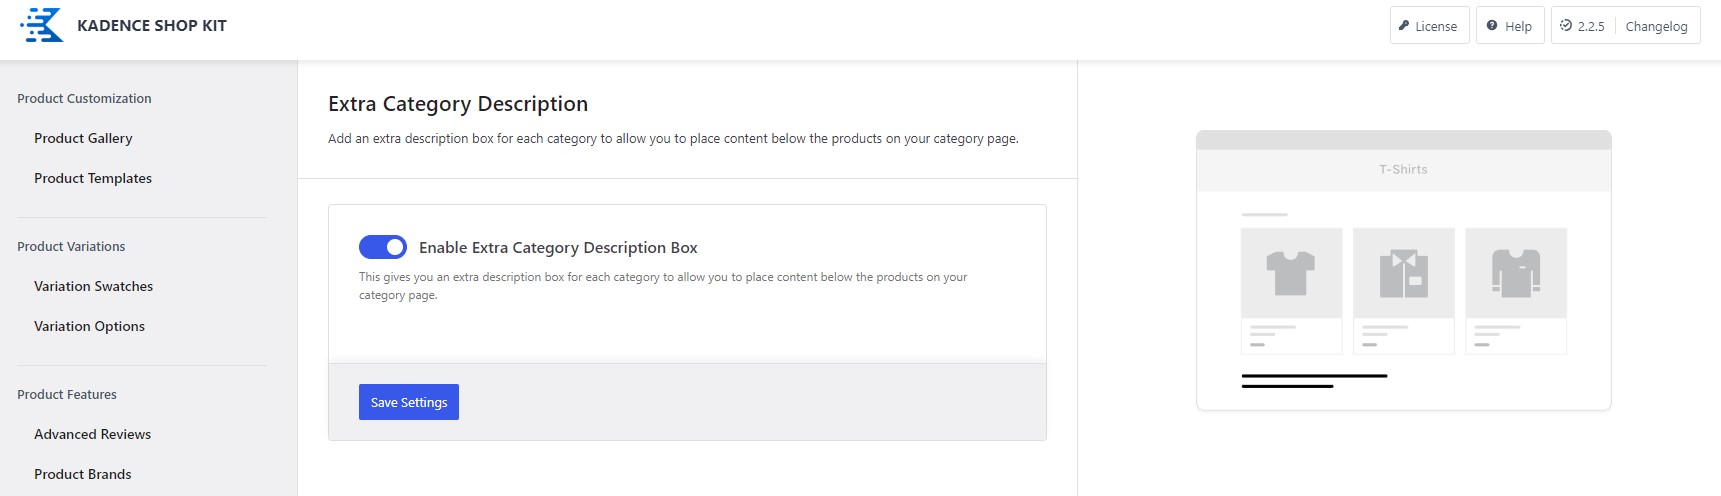
But if you want to use a plugin, the one I can recommend is ShopKit, which is an extended plugin of the Kadence Theme.
It has the feature built-in at the flick of a switch, without needing custom code. I always use ShopKit when creating Woocommerce sites with Kadence, it has a lot of other useful features.
But again, I recommend the simple mu-function file solution over installing a plugin just for this.
Hope it helps, say thanks in a comment if you used the code 🙂